
PechaKucha is all about creating, so why not share your creativity with the global community? Get your presentations online, and show the world what you have to offer with PK Pro!
Looking for a quick, informative video? Watch our How-to video by our very own "Global Dude" Brian Scott Peterson linked below!
This article contains the following sections:
- File Requirements
- Getting Started
- Select Presentation Format
- Images
- Audio
- Presentation Details
- My Presentations Page
File Requirements
Slide File Type
JPEG, PNG, PPT
Recommended Image Ratio
16:9
Current Maximum Image Size
3000px Width, 1300px Height
JPEG, PNG, PPT
Recommended Image Ratio
16:9
Current Maximum Image Size
3000px Width, 1300px Height
Audio File Type
WAV, MP3, FLAC (MP3 recommended)
WAV, MP3, FLAC (MP3 recommended)
Video File Type
MP4, .webm
Recommended Image Size
1920x1080
Recommended Audio Length
6 minutes & 40 seconds (20x20), 3 minutes & 20 seconds(10x20), 1 minute & 40 seconds (10x10), 25 seconds (5x5), 20 seconds (1x20)
Getting Started
As there are a few ways to upload presentations to PechaKucha.com, please choose either option below to continue.
A Navigation Bar
To create a presentation, (while logged in) click the Create tab on the navigation bar then, select Create Presentation.

B My Presentations
From your My Presentations page (located in your Account Dropdown Menu), click Create New Presentation to start creating.

Select Presentation Format
Once you have clicked Create Presentation/Create New Presentation, you will be taken to the Select Presentation Format page. Please select from one of our available formats to start building your presentation.
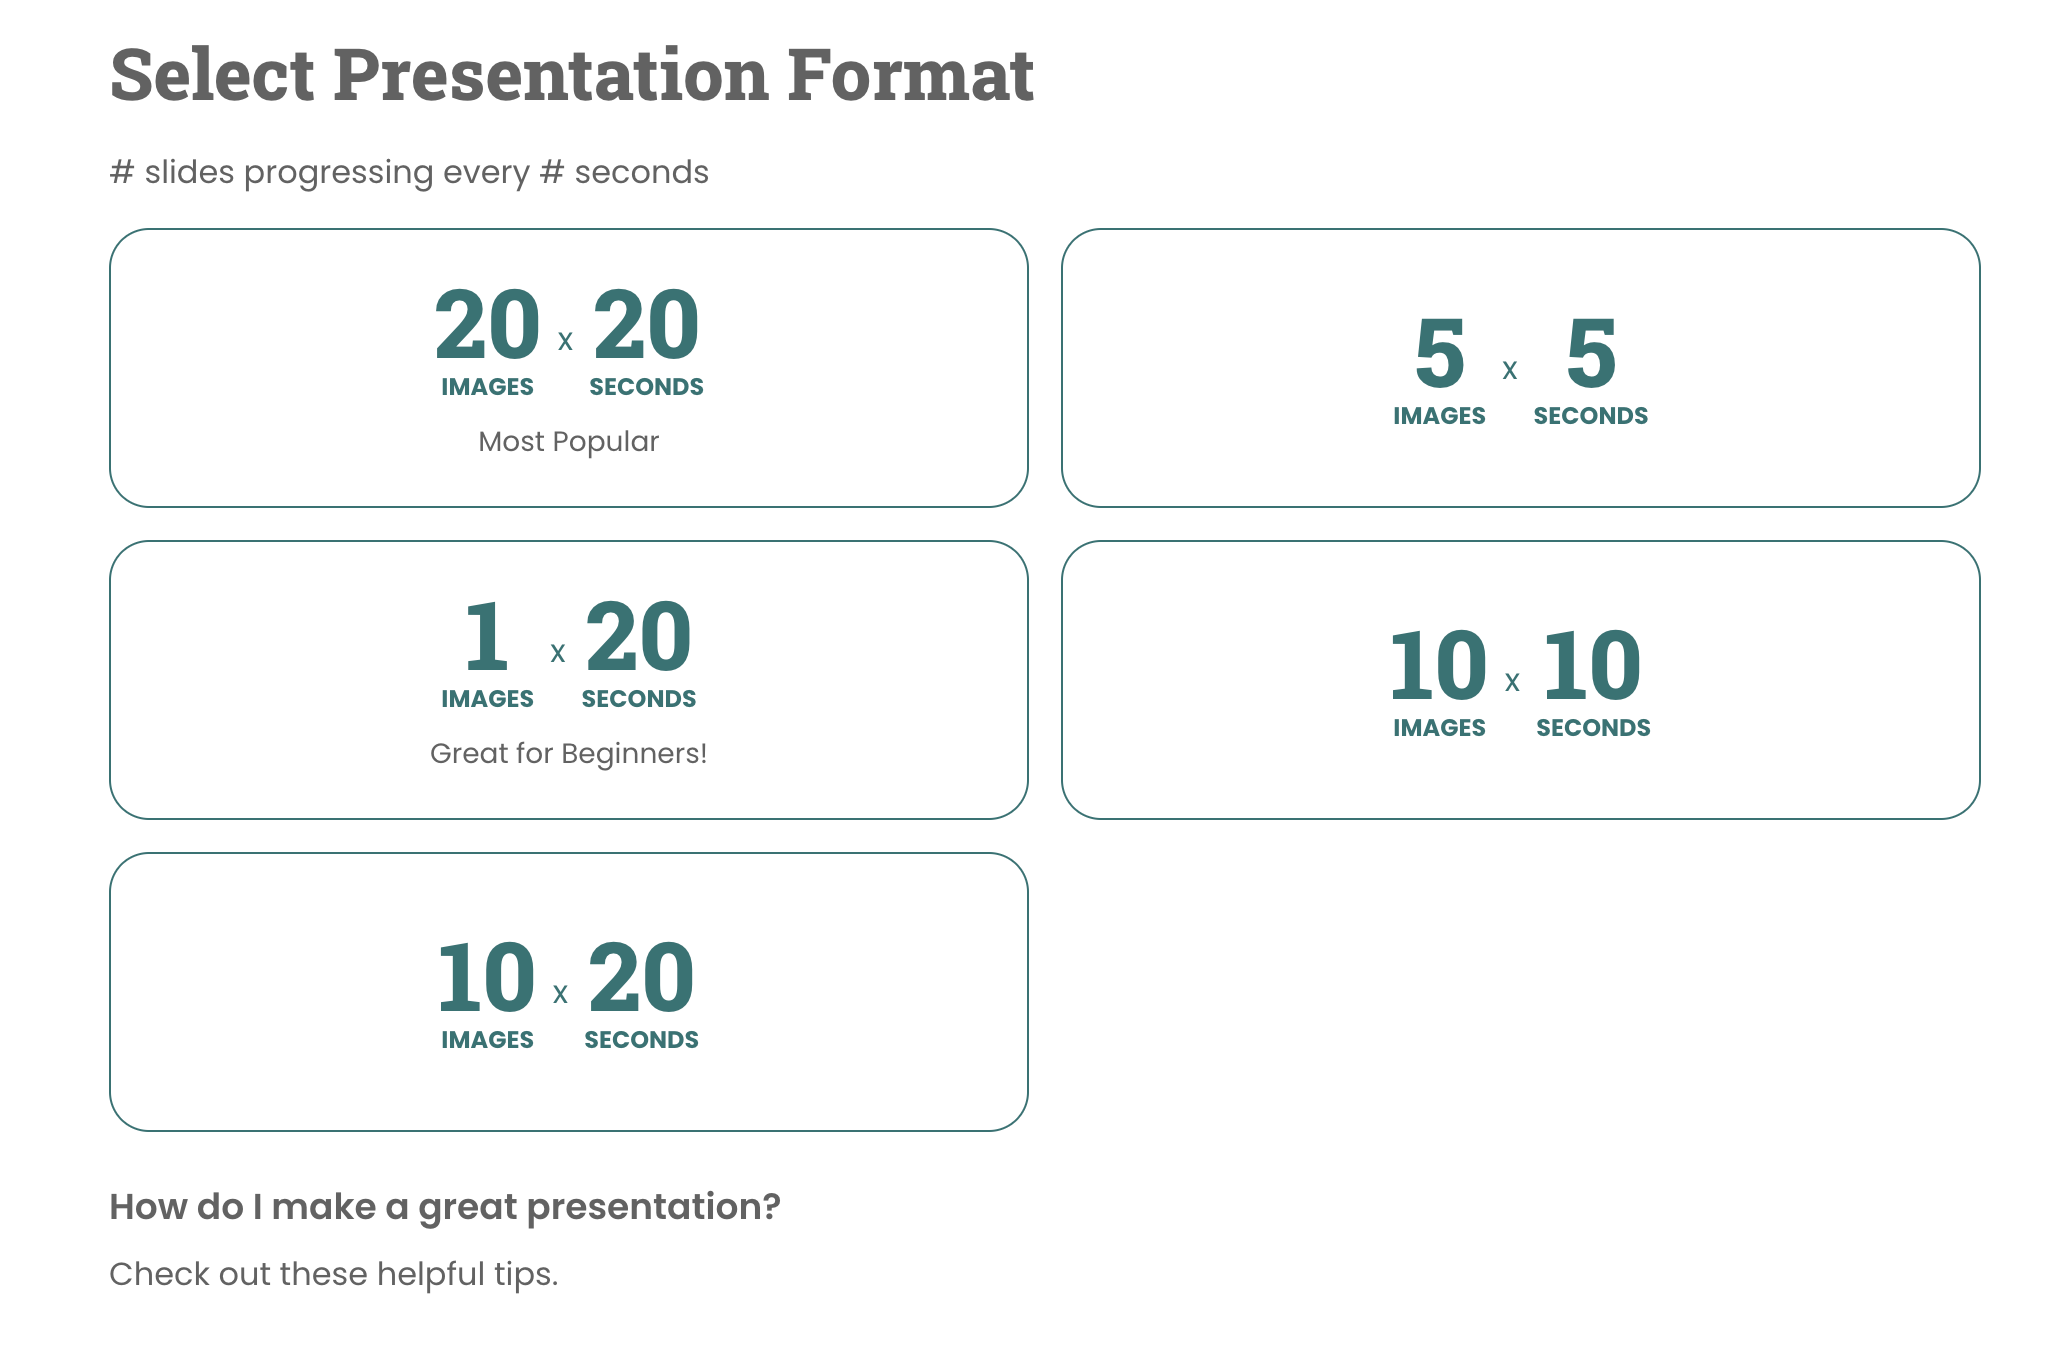
Note Once you have selected your format type, you cannot change your selection once you have saved your progress.
Images
Next, please upload your images (.jpg,.png,.ppt) by clicking the Upload Images button.

Note The number of images you need to upload depends on what format you've selected. In this example, I have chosen the 5x5 format.
On the Presentation Gallery page, you will have the ability to edit or reorder your images. To edit your images, simply click on the image to open the editing options. Here you can Replace, Crop, add a Text Overlay (shown below) or Delete the image. To save your changes, click Save Image.
To continue onto the Audio page, please select one of the following options: Record Audio or Upload Audio, Record Video or Upload Video, or Continue without Audio.

Audio
Now that you have uploaded your images, it's time to upload/record your audio.
Record Audio
If you have selected Record Audio, you will be taken to the page below. Be sure to click Record when you are ready to go.
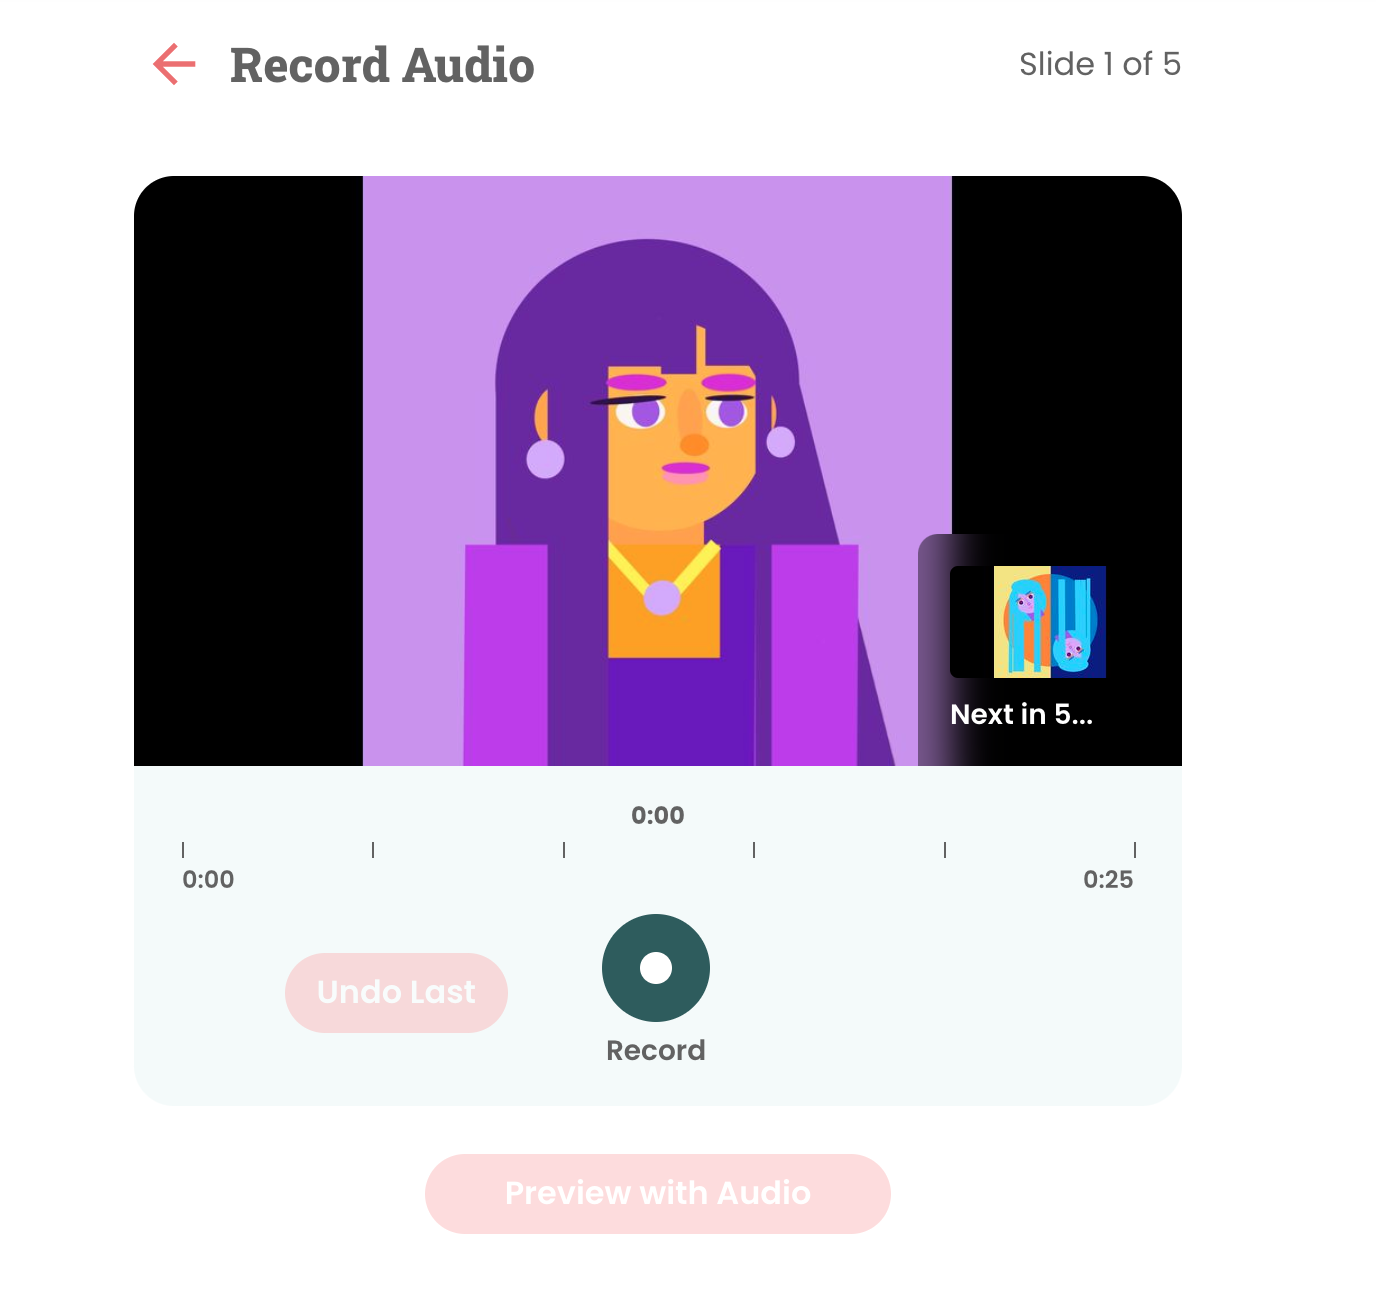
Once you have completed your recording, you will be able to Preview your presentation with your recorded audio. If you are satisfied with your progress, click Save Audio and Continue to move onto the Presentation Details page.

If you have selected Upload Audio, please upload your MP3 (M4a, MP4 file types are not accepted for audio uploads). Once the file has been successfully uploaded, you will be taken to the Presentation Details page.
Note If you are uploading your audio, please refrain from using symbols, punctuation marks, or accented letters in your audio file name. Also, if your audio is in any other format than MP3, you can convert the file using the following website: https://cloudconvert.org
Record Video
If you have selected Record Video, you will be taken to the page below. Be sure to click Record when you have selected your preferred video placement and are ready to go. 




Once you have completed your recording, you will be able to Preview your presentation with your recorded video. If you are satisfied with your progress, click Save Video and Continue to move onto the Presentation Details page.
Upload Video
If you have selected Upload Video, please select your Video Overlay Position then click Choose Video File (MP4, .webm).
Continue without Audio
If you have selected Continue without Audio, the following pop-up will appear.
If you agree with these terms, please click Continue Without Audio.
After completing one of the options above, you will be taken to the final step, the Presentation Details page.
Presentation Details
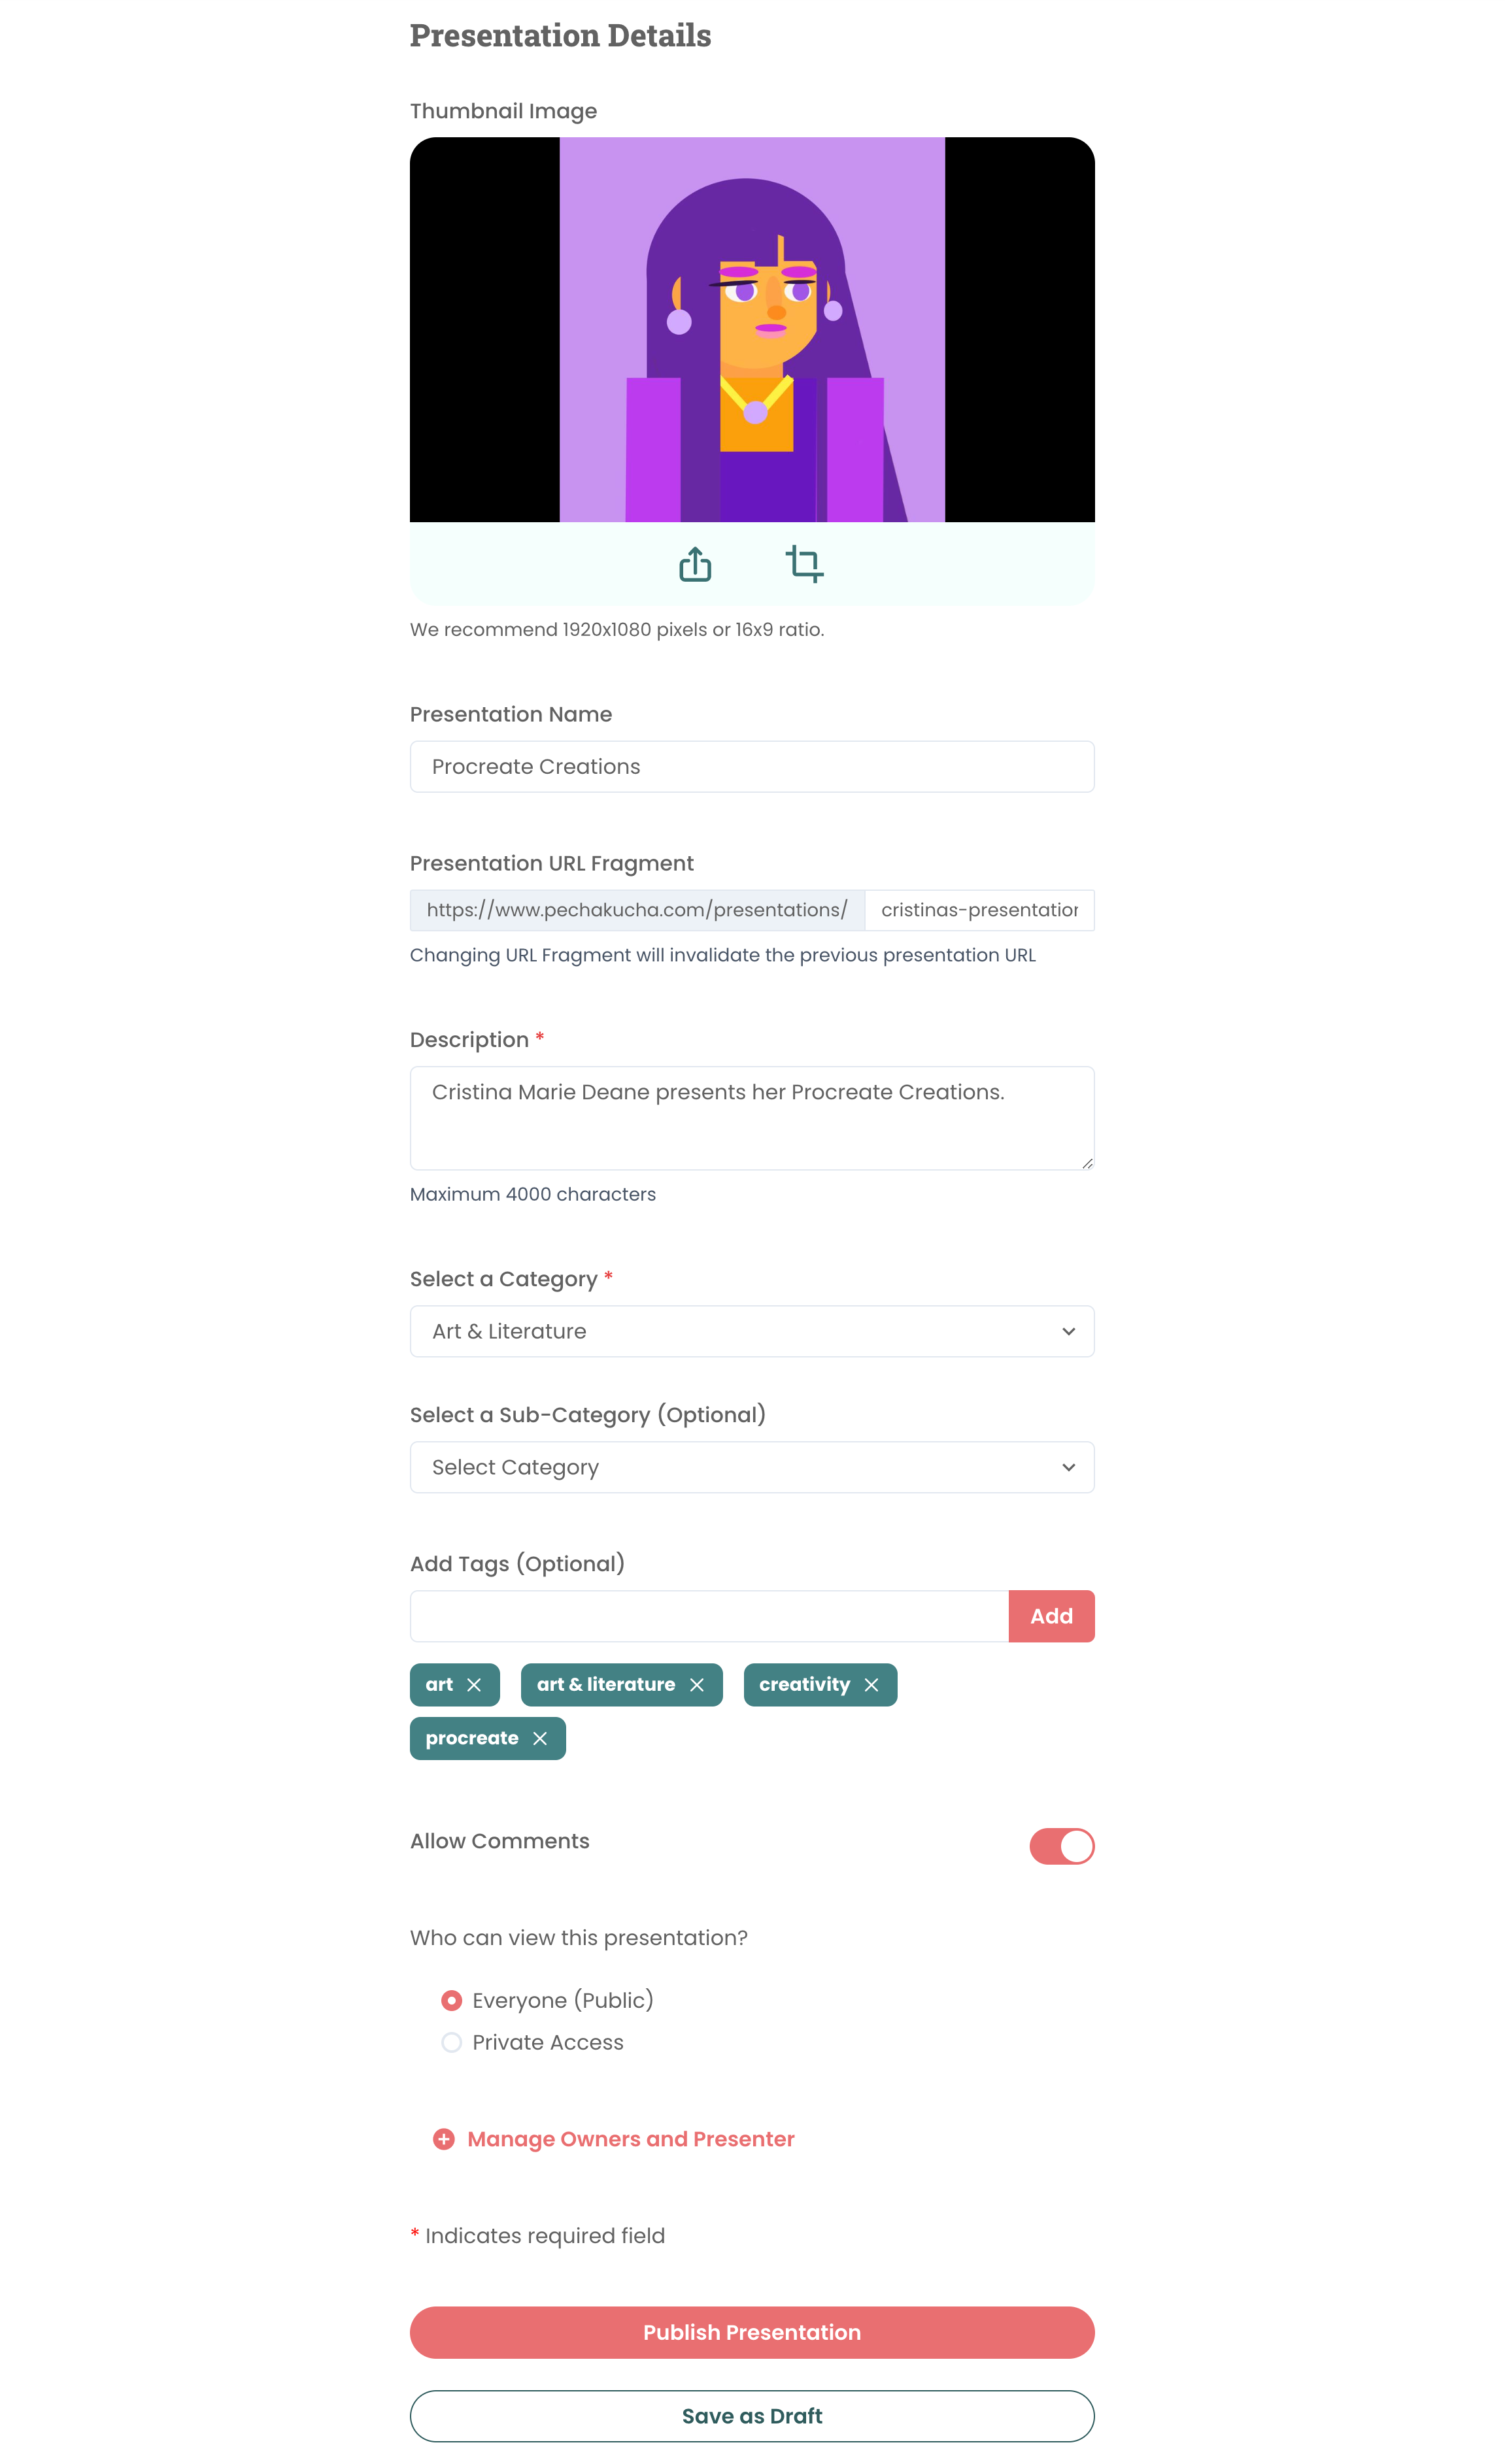
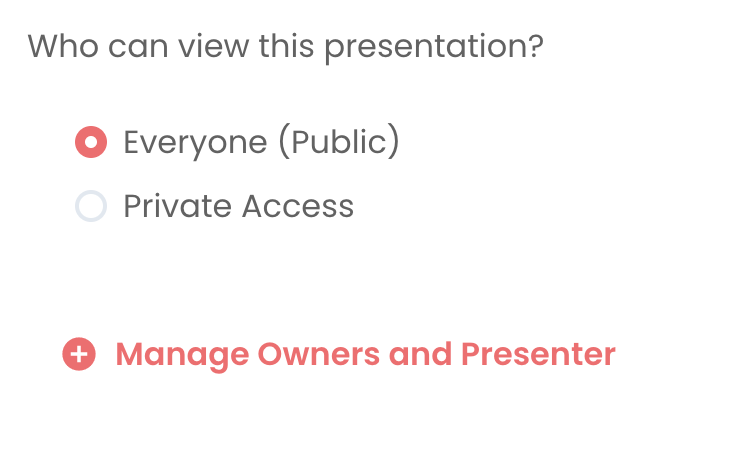
In the Presentation Details section, you can select your Thumbnail Image, Presentation Name, Presentation URL Fragment (URL title), Description, Category, Sub-Category, Tags, and Privacy Settings (Who can view this presentation? (Visibility) and Manage Owners and Presenters).You can also choose whether you Allow Comments on your public presentation page.
If you would like to make your presentation Private, please select Private Access.
If you are ready to publish your presentation, click Publish Presentation. If you'd like to complete your presentation at a later time, select Save as Draft.
Manage Access and Visibility Pop-up Menu
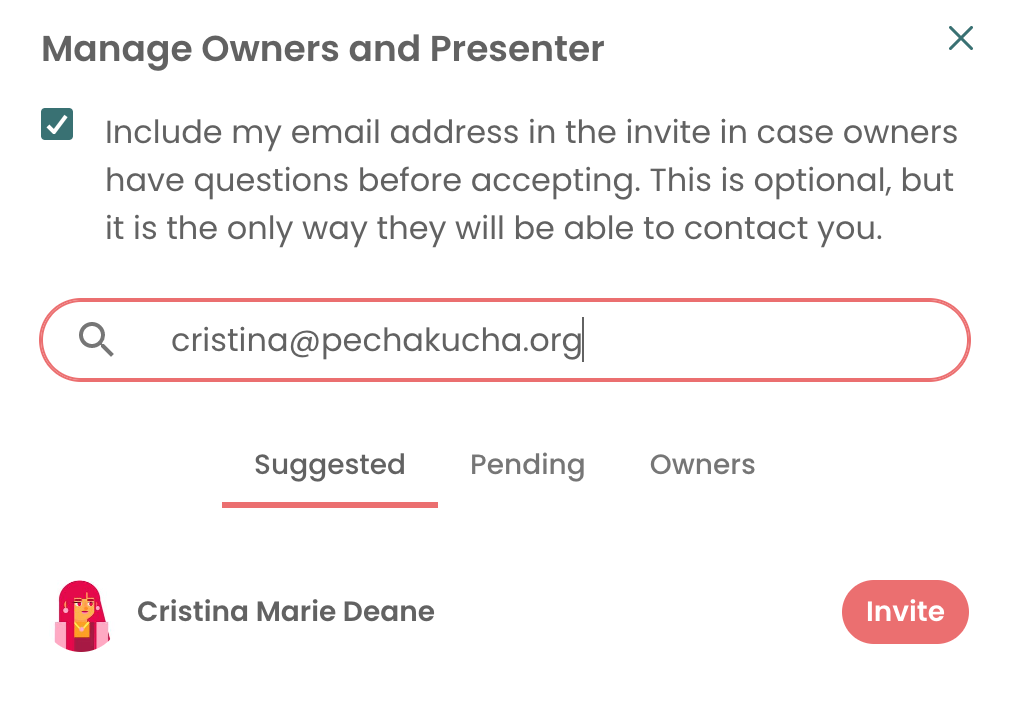
Need to update who can access your presentation for editing purposes? Select the Manage Access and Visibility pop-up menu to add collaborators to your presentation.
Quick Navigation
My Presentations>Presentation Edit Dropdown Menu>Edit Details>Manage Owners and Presenter
First, search for users using their name or email address in the query field as seen below. Once you have found who you are looking for, click Invite to grant access.
If you are ready to publish your presentation, click Publish Presentation. If you'd like to complete your presentation at a later time, select Save as Draft.
My Presentations Page
Once you have submitted your presentation, you will be automatically taken to your My Presentations page.
On your My Presentations page, you can view your Published and Drafted presentations as well as your Liked and Saved presentations.
Presentation Submenu
By clicking on the three vertical dots in the corner of your presentation, you can access features to Publish/Unpublish your presentation, edit your presentation details (Edit Details), and edit your slides/audio (Edit Presentation).
From this menu, you can also download your presentation as an MP4, MP3, ZIP or PPTX file.
For Published Content
If you'd like to share your presentation with others, you have the ability share your content by clicking the submenu and selecting Share.
You can share your presentation by Copying the Link, or sharing it directly to Twitter, Facebook, or LinkedIn.
If you have any questions or concerns regarding Creating Presentations, please contact us by submitting a request form here.
Related Search Terms
- Video upload
- Presentation
- Image dimension
- Slide dimension
- Images
Comments
0 comments
Article is closed for comments.